Course
HOUDINI & FUSION
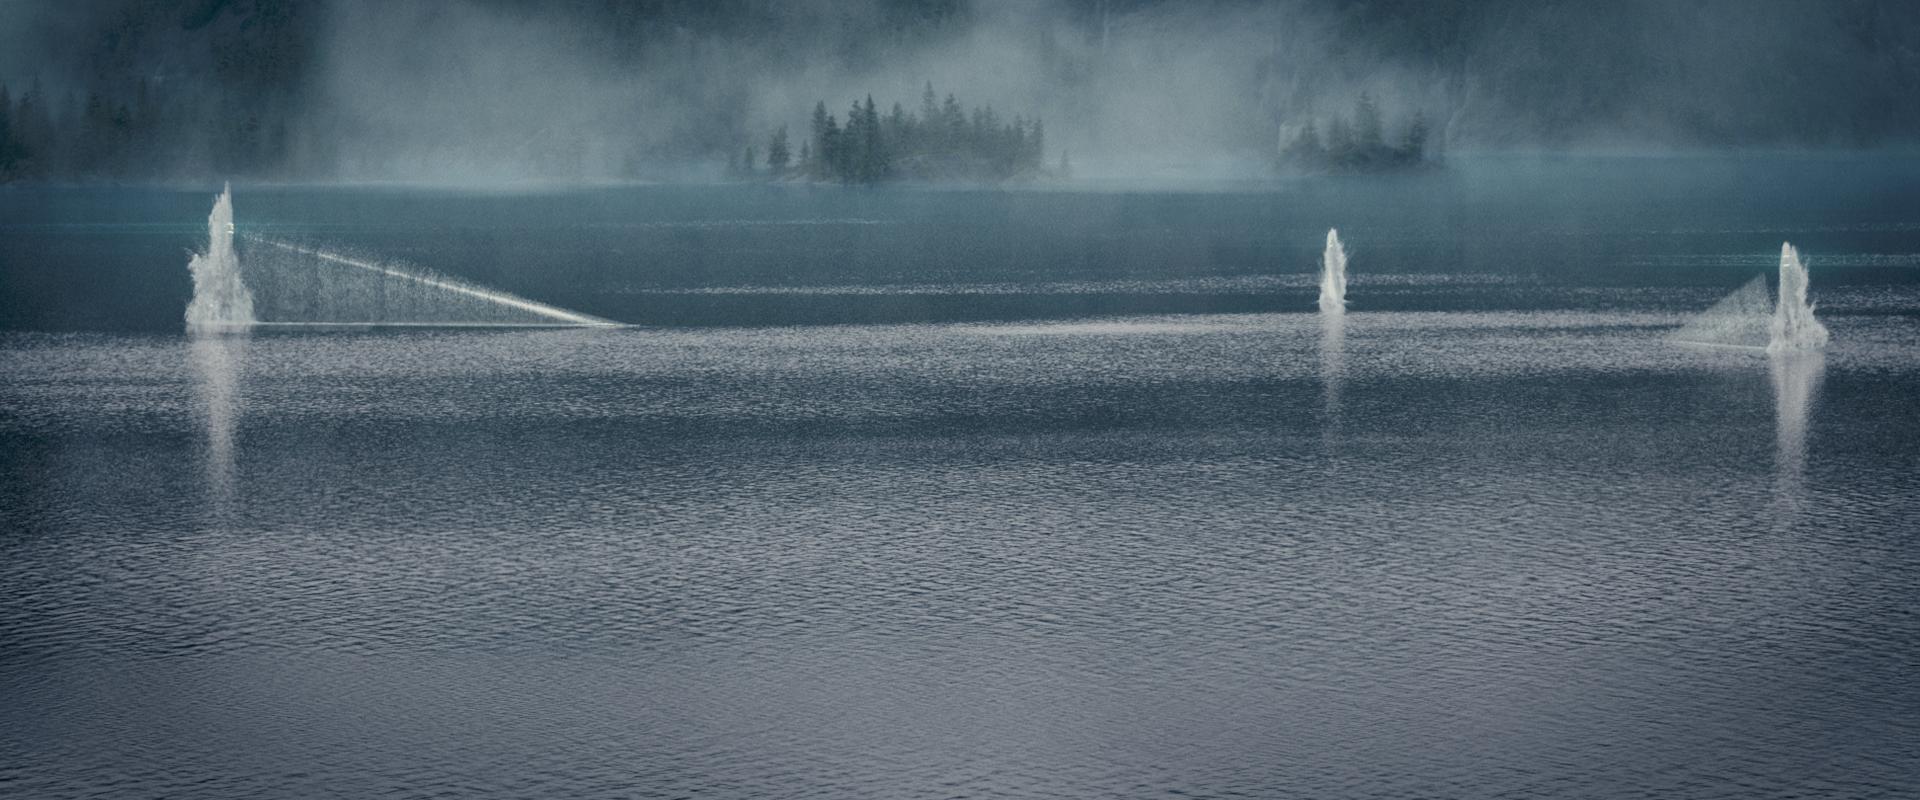
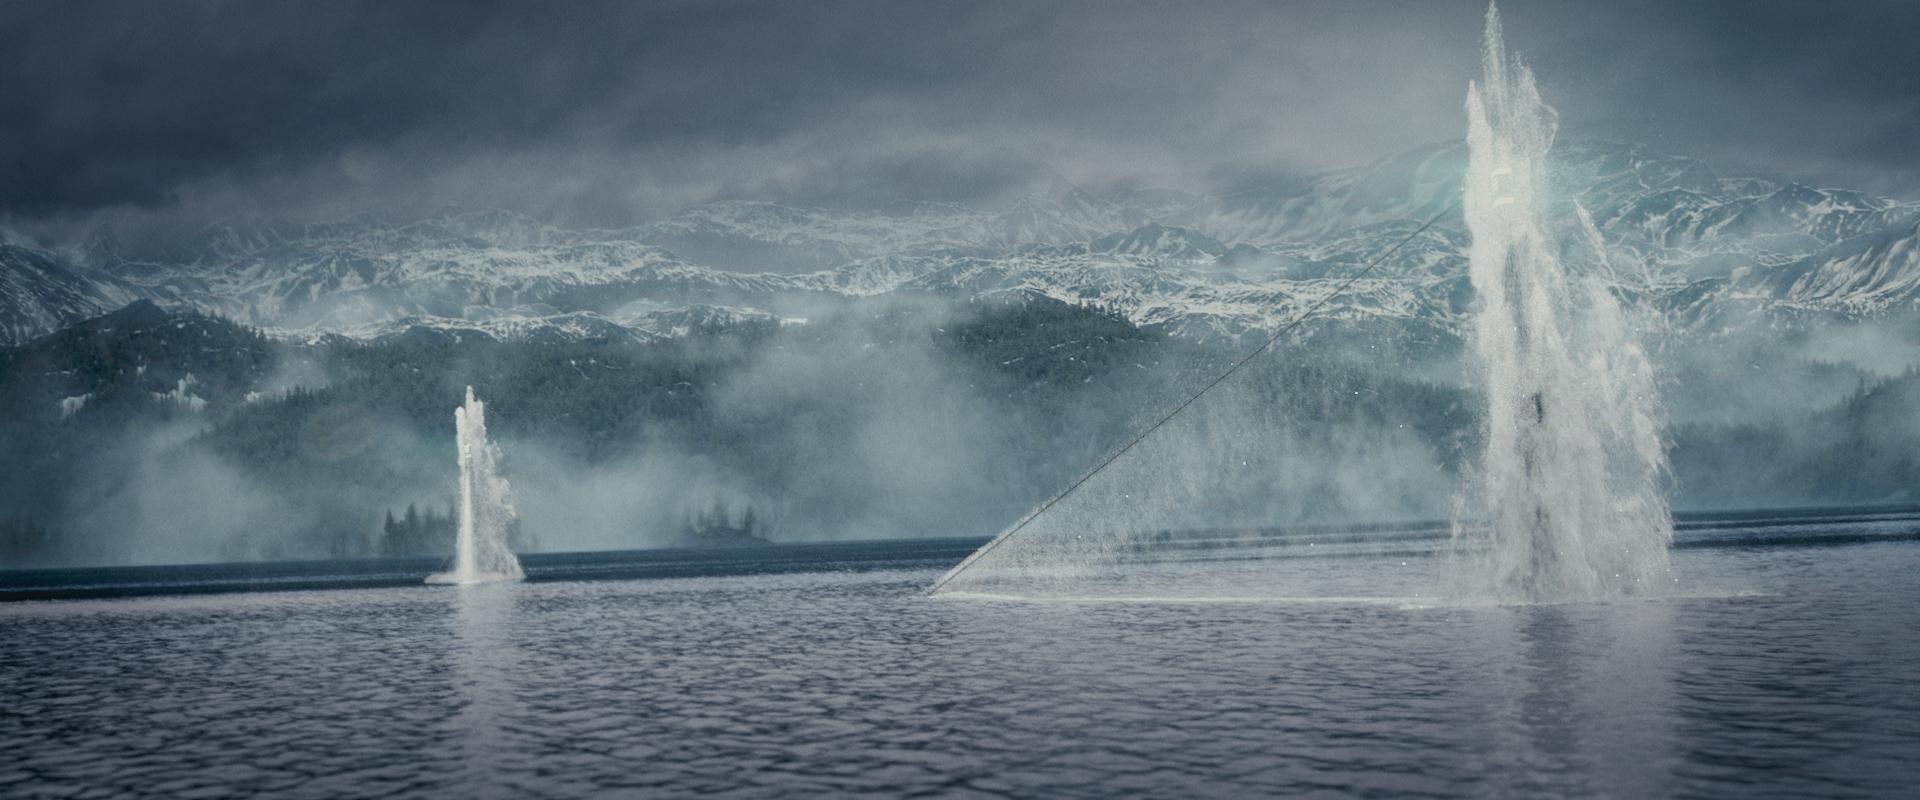
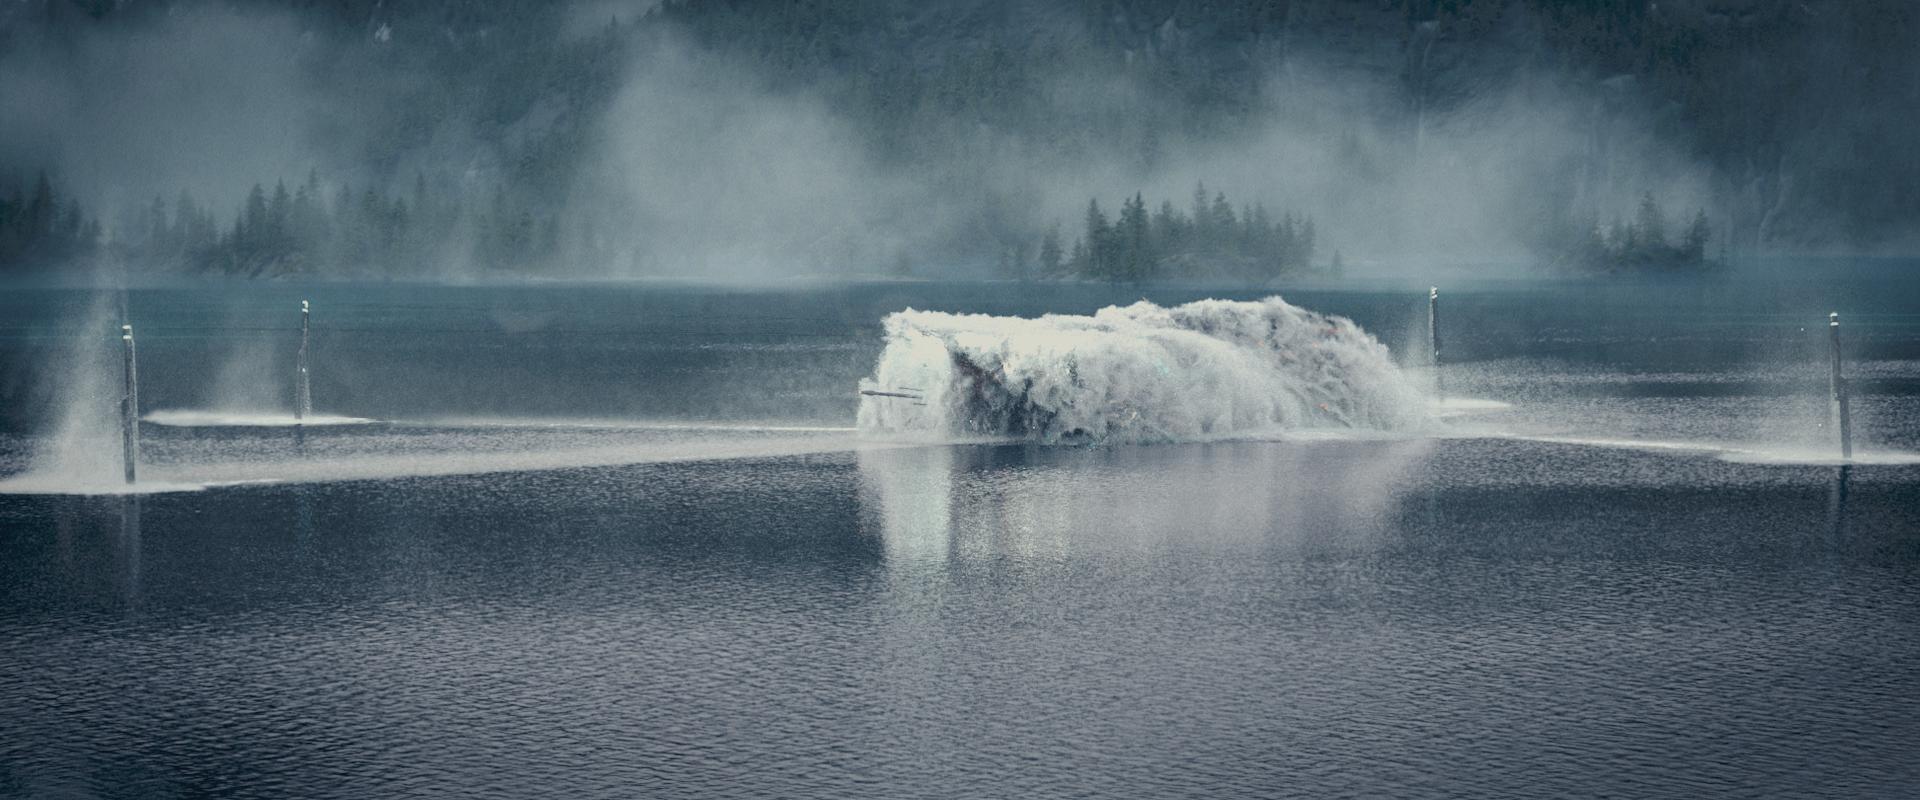
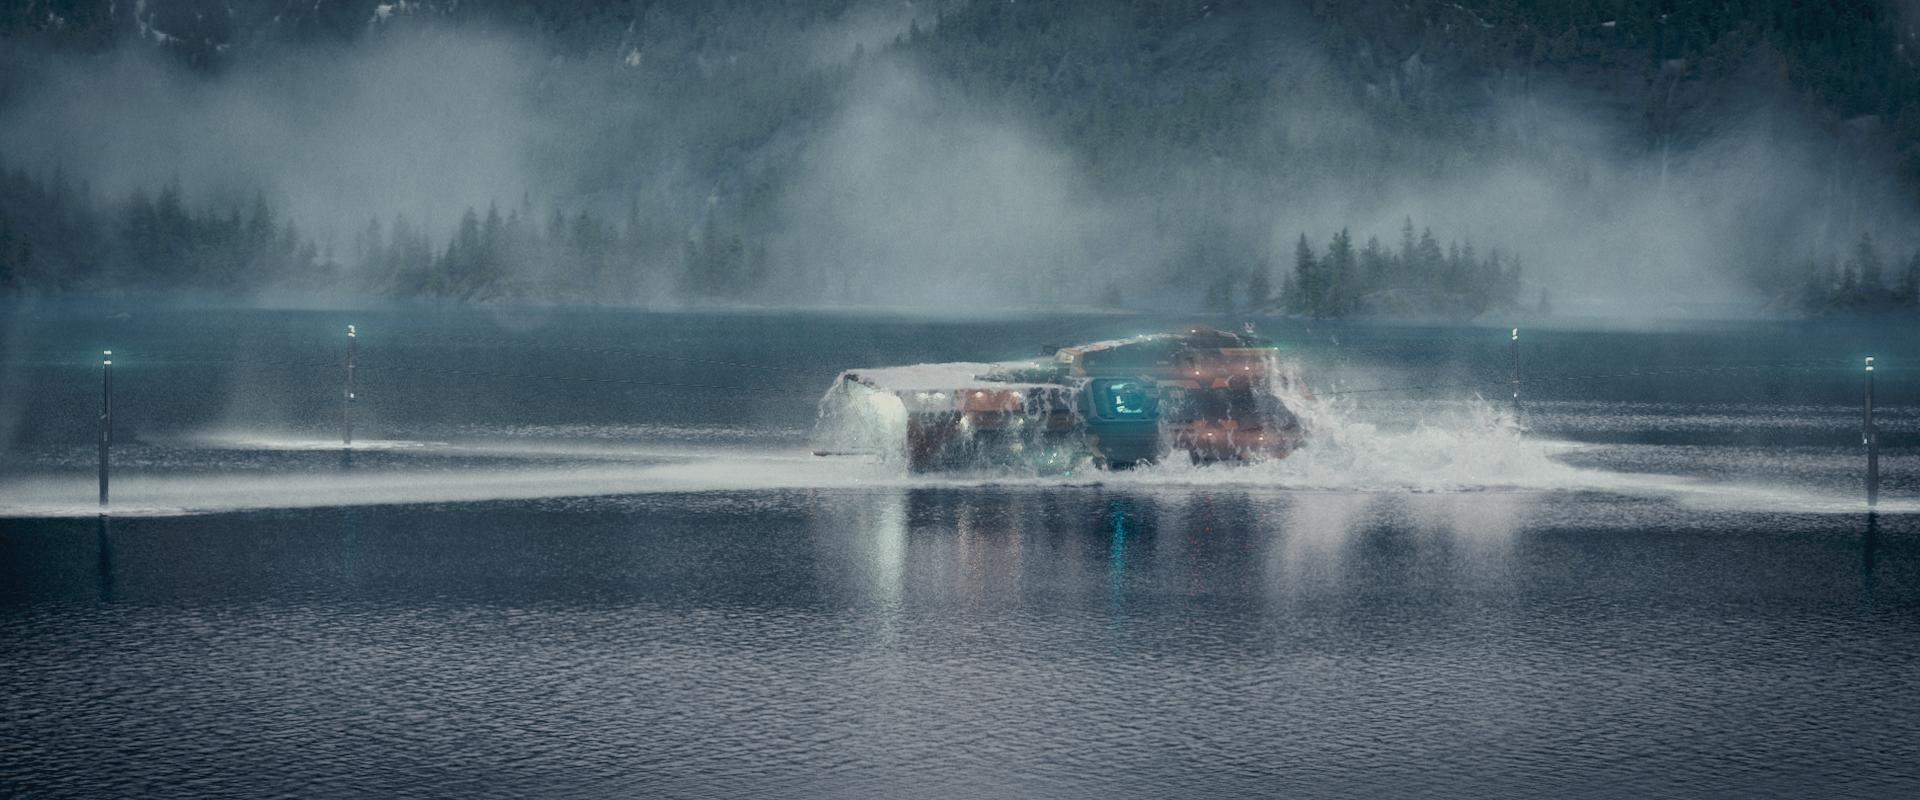
The Breach – production series FLIP in Houdini
DENNIS SCHMIDT
236.81 €
This is an intermediate to advanced production oriented course with the focus on FLIP. You will go through the entire process from the initial brief until the very end: the final composite. On the way You will be learning all the tips and tricks to speed up your workflow and enhance your fx skillset. Whether you are already working in the industry looking to expand your knowledge or trying to get your foot into the door: this is the perfect course for getting your next project to a whole new level.
Creating effects that look great is one thing but getting that setup to work procedurally is key if you have to implement that same effect over and over. You will learn how to apply it to different types of scenarios and learn how to set up complex shots from start to finish.
It’s an in depth training on FLIP, whitewater, smoke and mist as well as the creation of an appealing environment with the help of terrains, vegetation, ocean spectrums, fog and clouds. We will learn how to assemble and efficiently split up massive fx scenes.
So if you want to up your FX skills and always wanted to learn how to create a project like this but didn’t dare to jump into the waters of FLIP: now is the time.
Let us show you the world of FLIP-Fluids and the process of creating a final project in a production environment.
Detailed Trailer
SIDEFX HOUDINI
SIDEFX MANTRA
BLACKMAGIC FUSION
THINKBOX DEADLINE
Dennis Schmidt
Owner of PixelFront // Houdini FX Artist
Dennis is a Houdini FX Artist currently working for feature film. He has worked on various projects ranging from Commercials to Game Cinematics to a bunch of big feature films. Latest titles include “Godzilla: King of Monsters”, “Captain Marvel”, “Antman and the Wasp”, “Aquaman” and many more.
If you are looking for some in depth training on industry proven workflows and techniques for FX in Houdini, check out his training.
7 WEEKS COURSE
21+ HOURS OF CONTENT
Please see chapter section below to find out more information.
COURSE INFO
Trailer
Intermediate / Advanced
Project Files: Included
236.81 €
If you are a studio and have multiple employees you can purchase a studio license that provides access for all of your staff. The standard is 5 licenses. Please adjust the quantity in your cart based on your studio size and artist amount.
950.81 €
WORKSHOP OUTLINE
Take a look at the workshop outline to get an idea of what will be covered
DURATION - 02:17H
INTRO & BRIEF:
We will start with going over the animatic to get a brief idea of what we will be doing. Continuing with the brief we will discuss the always overlooked importance of reference.
SCENE SETUP:
In the next step we will then go and set up the starting point for the entire scene. So loading in our cached animation, prepping all our containers for rendering, fx and naming everything.
PIPELINE:
The last part in this week will be the creation of a custom file-cacher HDA. We go over how to manage HDA’s, a bit of python and also come up with a good naming convention to help organise our cache files.
DURATION - 03:46H
INTRO TO FLIP:
We will go over FLIP simulations in detail and explain how FLIP works under the hood. Creating effects that look great is one thing but getting that setup to work procedurally is key if you have to implement that same effect over and over. This is what we will be doing with our flip setup in Houdini. Starting with setting up the container and the basic settings.
FLIP SETUP:
Continuing with a proper collider creation and what to look out for. We will refine our simulation settings to get the most out of the flip solver. Being able to direct your FX is key and this is what we will be doing in the sim enhancements class. Adding custom forces for more realism and detail. We will go over how to mesh your flip and especially what to look for when rendering and combining with a larger lake or ocean surface. This includes attribute preparation as well as the meshing itself.
DURATION - 02:51H
WHITE WATER:
To fully utilize the great new white water solver we will go over a proper sourcing with custom and built in methods. To maximize the potential of the new white water system and to be able to art direct it we will customize the native solver to our needs and have a indepth look at the available settings.
DURATION - 01:32H
SECONDARIES:
Adding additional elements is key to tying things together. This is the case for the smoke simulation. To give the smoke sim a more grainy and wet look we will also create additional mist particles.
DURATION - 03:53H
SHOT WORK:
To prove our setup works we will then go ahead and learn how to apply it to different types of scenarios and how to set up complex shots.
DURATION - 04:13H
ENVIRONMENT CREATION:
This week we will start with going over the process to create an interesting environment and also how to set up a scatter system to efficiently render thousands of trees and bushes.
WATER LOOKDEV:
We will then dive into ocean spectrums and create our lake waves and start to lookdev the water surface that we will be rendering.
FOG & CLOUDS:
Finishing off this week we will go over the creation of fog and clouds to finalize our look for the scene.
DURATION - 05:52H
FX SHADING & LOOKDEV:
To finish our project and make our fx shine we will learn some important shading techniques for water-effects. Starting with the water itself where we customise the ocean shader using specific attributes and masks. Continuing with the shading of the white water where we will be creating a volume shader for points with a “wet” look to them.
RENDER & SHOT MANAGEMENT:
Finally after finishing all the shading and test rendering we will go ahead and start to assemble everything and talk about layering our fx and how to efficiently split up our scene.
COMPOSITING:
Finishing off the course we will briefly go over the compositing of the shots.
Remember that there is definitely more content in the course than we can describe in a short outline. That’s the reason it’s just an outline. Also make sure to watch the Trailer to get a better idea of the content covered.
WORD FROM THE AUTHOR:
Now I do want to mention that the path I took for this course is not the only one. Luckily in Houdini there are multiple ways of doing things. I choose the ones I usually use in production and also ways so that I can share as much general information as possible of day to day situations you may encounter during a project. I do cover every step and explain it. Some more in depth and some just roughly. The reason is simply the fact that the course has time constraints and also a focus which is FLIP.
Taking a course is one thing. Actually applying the information to a real project really makes it sink in. That’s why for every week I created assignments that will help you complete your own project.
So let me show you the world of FLIP-Fluids and the process of creating a final project in a production environment.
I’ll see you in the course!
Frequently Asked Questions
Head over to the CAMPUS (located on the main menu under “About” / “Account” or your account section) and find your course under “My Courses”. Click on the thumbnail and you will be directed to the tutorial page for this course.
Our workshops and courses are prerecorded and therefore not live. This makes it perfect for the individual learner so you can watch at your own pace and decide when and where to watch.
We offer customer support and aim to respond as quick as possible to every customer. We understand that the world of CGI can be challenging at times and we went through the same process ourselves. We’re happy to answer any tutorial related questions you may have!
Also, at the CAMPUS you can connect to other Artists and even talk to our instructors or participate in group conversations.
Please contact support [at] pixelfront.net with any questions you may have. Or use our contact form. We aim to respond as soon as possible.
The main difference between courses and workshops is their duration. Workshops are one time tutorials ranging from minutes up to maybe 10 hours the most.
Courses are longer and spread across multiple weeks. Ranging from minutes up to maybe 5 hours per week. The aim of a course is to go through an entire project from start to finish and cover a wide range of information. These are most suited for those wanting to advance their skills even further.